Introduction
Camera Raw in Photoshop is a very powerful tool. Sadly it is often ignored by photographers and photo retouchers.

In this tutorial I’d like to show you can import your images to Photoshop using this method, and do most of the heavy lifting while in Camera Raw. It certainly saves time to work this way, and I would argue that adjusting settings while still in Camera Raw will yield more accurate results than using adjustments within Photoshop.
Note: You can use all these settings also in Develop module in Lightroom; Lightroom deals with RAW images essentially the same way.
I will walk you through on how to import your RAW images this way to photoshop.
Let’s get started with Photoshop Camera Raw
Go to File, Open and select the raw file just like you would open ordinary file in Photoshop. Please notice that by default “Camera Raw” format is selected in open dialog.
Now, the following window might seem confusing for first time users of Camera Raw with so many tabs and sliders. But don’t let it fool you. This is very efficient way to deal with RAW images.
In the title bar, you will see the Camera Raw version, and the digital camera model. Below the title bar there is a toolbar with buttons. My most used ones are the Zoom Tool (z), Hand Tool (h) (you can use space just like in photoshop for quick hand action), White Balance Tool (i) and Crop Tool (c). Typical photoshop shortcuts work, space for Hand, Alt/Option modifier for Zooming in and out and so forth.
I used the crop tool to get better feel of the image and get closer to the man. Please notice that can re-adjust cropping it any time non-destructively simply by hitting c.

Camera Raw tutorial.

Histogram and other settings of Adobe Camera Raw
On the upper right corner you see the mighty histogram and important data of the image provided by camera such as f-stop, shutter speed, ISO and the lens focal length and range.
The default tab is “Basic”. You might feel intimidated by so many tabs, but don’t be; most of the time you will use just few of them. I almost only use Basic and Detail.
In Basic, there is a drop down menu for White Balance. It’s good to compare “As Shot” and “Auto” and see the difference. There is often slight difference, but one of these provide a nice starting point.
I used White Balance tool to sample some grey values from the grey train metal. This is great because the rectangle allows average sampling of several pixels.
There are also several presets for different lighting conditions such as fluorescent which is by the way the condition under which this image was taken. I fine adjusted the colour temperature by dragging the Temperature slider right. Ending up at about 4200 Kelvin, I warmed up the image just slightly. I moved slightly the Tint for getting more greenish than purplish image; in my experience digital cameras often tend to produce images that are slightly too reddish.
Now, under these two sliders are base settings for exposure. For recreational purposes you can use “Auto”. This will affect only the sliders under it, not white balance or cropping. As you will see, the adjustments that Auto setting makes are usually way too harsh. Click “Default” to restore peace on earth.
With Exposure slider you adjust the main brightness of the image. I ended increasing the exposure about +0.55. It’s good to zoom closer with hitting z to see the impact this has on details. I increased contrast ever so slightly at about +5, Highlights by +23, Whites by +15 and decreased blacks by -10.
I added Clarity by +8, Vibrance by +5 and Saturation by +5. I recommend to use the last two sliders sparingly as these will increase visibility of noise in the image. It’s good to zoom in to see the impact of these settings for finer details. These again are exactly same as in Lightroom’s Develop module.

Now, let’s move on to the next tab Tone Curve, by clicking the curve button on right of Basic. This has two tabs, Parametric and Point mode. Point mode works like Curves inside Photoshop by adding points and manipulating them. I tend to use this since I am so used to this style. Adding a slight film like s-curve increases the “punchiness” of the image.
I went back to the Basic tab to undo some of the Black adjustments since the curves are now doing the same thing.

Now, before we move to the Detail tab, it’s good idea to enable Lens Corrections. This is super useful feature of Camera Raw. The software will identify the lens model and apply automatic corrections based in the profile. Especially this is useful for correcting lens distortions and aberration. The difference is quite huge.
There’s some chromatic aberration (aka. purple fringe) in the man’s cheek as you can see. This is typical for the Canon EF 135mm zoom lens I used.

Let’s enable “Remove Chromatic Aberration” to eliminate it. BOOM!

I left other profile options as they are since the result appears correct.
Now, let’s move to the detail tab. This is where Sharpening and Noise Reduction happens. I recommend not to go overboard with sharpening since too harsh sharpening might be impossible to deal with later.
I like to add just a bit of crispness to the image. Same goes for the noise reduction settings. I ended up using values something like this. I keep the image at 100% rather than going sub-pixel level when adjusting these. The colour noise reduction works wonders.

The image is looking quite good.
Next tab HSL/ Grayscale allows some high quality B&W correction magic happen, again much like in Lightroom. This is, by the way my favourite way to deal with B&W mix in Photoshop.

But since this time we are dealing with color image, we’ll leave “Convert to Grayscale” unchecked.
In Effects tab I added some Post Crop Vignetting, again much like in Lightroom.

Camera Raw settings dialog
I left camera calibration settings as they are and moved on to the presets. It’s good idea to save a preset if you are working with super important project so you can preload the settings again, and of course if you are working with series of images. Saving a preset will save XMP file.

Camera Raw Save Options
We are basically done. From now you can click “Open Image” to open the image in Photoshop, or “Save Image..” to save the image in DNG (Digital Negative) or TIFF format. DNG is Adobe’s recommended way of archiving the images losslessly. If you don’t wish to open the image in Photoshop for further editing, click Done.
Opening the image from Camera Raw directly to Photoshop will result 8-bit image. To output 16-bit image, one must use “Save Image..” dialog from Camera Raw and save as 16-bit TIFF. I am not aware of a better way of achieving this. Please let me know if you are aware of it.
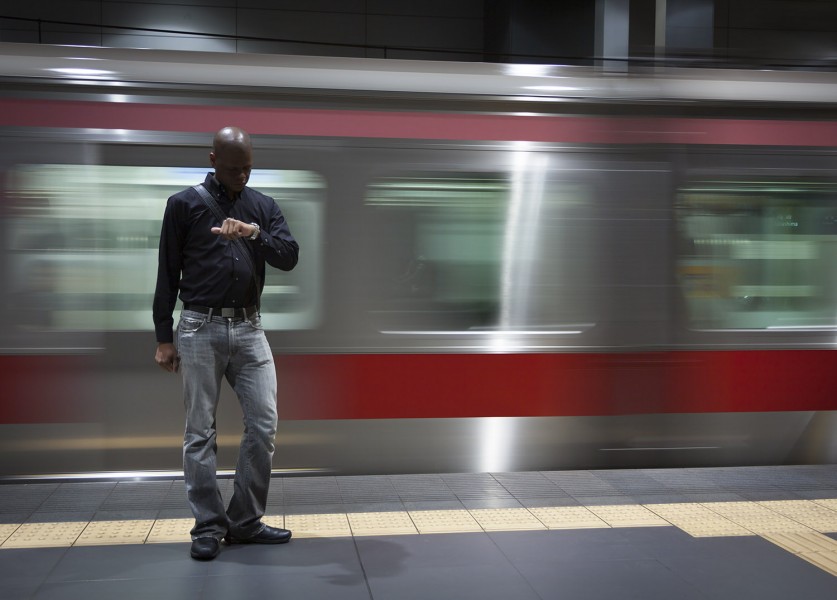
Here is the final image. I hope you enjoyed the tutorial. Please leave a comment below or check my Lightroom Raw tutorial in Youtube.